Wednesday, August 08, 2018

A sleigh full of presents!


Whoop whoop the Merry & Bright collection is now avaialble!
Make sure you pop over to the Heartfelt Creations website and be inspired 
by the beautiful projects the design team have created!


I have to confess...... this deer and sleigh is my favourite image
from the Merry & Bright collection...... shh..... 


The papers are jsut so pretty, a colour pallete I have fallen in love with for my Christmas cards!

Have a fabulous day my friend!
Happy crafting! 

Monday, August 06, 2018

Merry Christmas!


I am just loving the Noel Ornament Die from the O Holy Night Collection!
It is so versatile and you can make so many different types of Christmas cards with it!

This card is so quick & EZ to make, I made it in 30 mins! 
I was Inspired by a card Rajni made for this card.
You can see how it's made in this video on the Heartfelt Creations Facebook Page HERE.

Happy Crafting! 

Ornament Easel Card


Wow I can't believe how long it's been since I posted!
Where has the time gone? I't just flown by......

Here is an easel card I made with the Noel Ornament Die from Heartfelt Creations.
It's so easy to do, you can see how in my video on the Heartfelt Facebook page HERE

I've been making a few more of these ready for Christmas!

Happy Crafting! 

Friday, June 01, 2018

Lush Lilac Mini Album


Ooh it's been a while......... I'm sorry I've been travelling....
Eeek I got to go to the Heartfelt Creations Office!!! 
Oh my if you get chance to go on a tour there you must! It's amazing! 

I have had great fun making this mini album with the Lush Lilac collection!
Can you believe I have never made a mini album until now! 
I don't why not they are so easy!


I used the flip fold cards to make pocket inserts with the layered cards.


All I need to do now is add some photos, I was thinking the little polaroid ones!


And of course I had to decorate the front with the Lilac! 
This is definatley one of my favourite collections! 

Have fun crafting! 


Friday, April 13, 2018

Butterfly Birthday


Oh my! I just love this butterfly it makes an amzing focal piece to any project!
I have been playing with the Butterfly Dreams collection.
With the grey days here this week it sure brought the summer into my craft room!

The butterfly border die in the centre is just so versatile, it makes
a fabulous border along the edge of a card.... you know what I'm working on next lol!

I used the following to make my card:

Sunday, April 01, 2018

Happy Easter


Wishing you all a Happy Easter!
Here is another Easter basket I made with the Gift of Love Box Die!
This time I made it from the papers from the Sweet Peiny collection and
adhered die cuts between the two layers on the basket sides.
Really EZ to make and looks so pretty in real life.
I'm sure the chocolate wont last the day though!

Have a wonderful day everyone.

Friday, March 23, 2018

Especially for you


I thought I would make a card to go with my Easter Basket.
Lol the idea of the oval was an egg...... I know eggs aren't oval lol!


A great way to place the Sweet Peony flowers on your projects are so that
the flowers are back to back, they look so retty and are so easy to arrange!


I have really had lot's of fun with the Sweet Peony collection!

Have lots of fun crafting everyone!

Thursday, March 22, 2018

Art Foam Paper flowers.


I've been having fun making flowers with the
Art Foam Paper for the very first time! Lol yes I know.....
It's been availble for ages! lol!

I made these with the Sweet Peony flowers.... oh they work a treat!

I watched Emma Lou live on Facebook making these and I just had to have a go!
I used everything the same as it was my first time making these.
You can watch how EZ they are to make with Emma Lou HERE.

Have lots of crafty fun my friends!

Tuesday, March 20, 2018

Easter Basket


I had so much fun making this Easter basket!
You can see how I made it HERE on Heartfelt Creations Facebook page.
It doesn't have to be just used for Easter, it would make a lovely 
basket for a wedding, Mother's Day or any gift! 


The flowers I used are the Sweet Peonies, they really are so versatile
and easy to create different flowers with!


These are the exact same flowers but one picture as taken before
addding glitter and the other after addding glitter! They look so different! 


To make the basket I did the following:

1. Die cut 6 x Gift of Love Box sides and trim the top two sections away,
along with the tab on the now top section.

2. Use the floral die piece and cut in the centre of the square section of the 
6 x die cut sides and adhere together.

3. Ahere the base flaps and draw around the basket base on a piece of card
and cut out. Adhere to the bottom of the basket.

4. Cut a strip of card 2" x 11" long and use the Border Essentials Die
to create the handle. Cut two strips 3/4" x 11" of paper from the paper pad
and adhere to the handle, one on the top one underneath. 
Adhere the handle to the basket.

5. Cut 6 x die cuts to go on the flaps of the basket and glitter. 
Adhere to the basket with 3D foam pads.

6. Cut 6 x 2 1/2" x 2 1/2" squares of paper to match the handle and again using clear cardstock.

7. Adhere the clear card to each side of the basket and then again with the paper.

8. Use tissue paper and craft straw to fill the basket and then add you Easter Eggs!

Have fun making one too.
Happy crafting.


Sunday, March 11, 2018

Happy Mother's Day


Happy Mother's Day to all who are celebrating today!
Here in the UK today is Mothering Sunday, I know 
my friends in the USA celebrate Mother's Day in May!
I wonder why the dates are different Father's Day is the same lol!

So.... here is the card I made my Aunt for Mother's Day.
She is more like a Mum to me than anything else and the girls all call her Grandma.
Such a special relationship we have.

I'm hoping by now she has arrived with me for lunch (I'm scheduling this post lol!)
and that she has already seen her card! One year she saw it online
before I managed to give it to her...... oops!

For the card I used the Lush Lilac collection and those cute little
birdies are from the Singing in the Rain collection.

Have a fabulous day everyone and happy crafting! 

Wednesday, February 28, 2018

Have a Beautiful Day


I was looking through my dies and I found the Decorative Oval die
and just had to use it with my spares from the Lush Lilac collection.
This card really has a spring feel about it which is sort of funny 
as I made it while it was snowing lol! 

I made the oval aperture by layering the papers together for the front and 
die cutting the oval from the Eyelet Oval Die in the centre. 
Then I placed the papers on the front of the card and drew with a sharp pencil inside the oval.
All you need to do now is place the oval die over where you have drawn and diecut!
Now adhere the papers in place and all your oval cuts line up!

Have lots of crafty fun my friends!

To make the card I used:


Tuesday, February 27, 2018

Deck the Halls


I know it's too early for a Christmas card lol!
It's been a snowy day here and I just couldn't resist getting 
out my Christmas stash of flowers and embelishments!
It's not often I get to make a Christmas card in the cold and it;s snowing!


But first I had to make a snowman lol! 
While the kids are at school the parents will play!!!!! 
We made it so it was looking into the conservatory when the kids
did come home, they both laughed as he was lospided by then and melting!


Saturday, February 24, 2018

Best Wishes


I have been having fun with vellum and the Lush Lilac collection!
If you missed me live on Facebook making this card then make sure you click HERE.

I am so in love with the umbrella in vellum, it look like a pretty parasol!
Ah.... summer days walking in Paris with a lacy parasol!


Apetures are so easy to make using you dies, I show you how in my video.
Adding a lacy boder around the aperture really makes it pop!


I mixed up my vellum flowers with my paper flowers for an extra pizazz!


And those cute birds are from the Singing in the Rain collection!
They are so cute! 

I used the following on my card:


Friday, February 23, 2018

Just a Note


I have to say I LOVE the Lush Lilac collection! 
I have had so much fun creating projects with these florals........ 
and the colours! Ah they remind me of my Grandma, 
she would have loved recieving this card for sure!
Lol she loved every shade of purple bless her.

For this card I used lots of layers and distressed the edges
with a Tim Holtz distresss tool. Of course I used lots of glitter....
every layer has the Crystal clear powder on it around the edges.
See those little tags? I cut them from one of the 6" x 6" paper from
the Lush Lilac paper collection.

Have lots of crafty fun everyone!


Friday, February 16, 2018

Birthday Lilacs


Whoop whoop the Lush Lilac collection is here!
I am so loving the colours of this collection, oh and the images, 
and the stamps..... and the dies lol! Yup it has to be my favourite now!

You can tell I am loving creating with the Shadowbox Cards too and layers!
Do you ever seem to go through phases too in your creativity?
I will be back to white and pink again soon I am sure lol!

The card base is a 7" x 5" and I cut the layers to fit each layer 1/4" smaller each time.
Happy crafting everyone! 

I used the following on my card:

Monday, February 12, 2018

You are my Sunshine


I loved the last card I made with the Singing in the Rain collection
so much I had to make another in the same colors!
It was so fun to create, these fairies are just so cute!

This time I used diecuts for layers and a shadow box card for dimension.
And of course I used lots of glitter too :)

Have lots of crafty fun everyone! 


Saturday, February 10, 2018

Just for you.


I have bee inspired by how some of the design team have used the
die from the Gift of Love Box Die to create apertures
in thier projects so I had to have a go too!

I used the centre floral die and cut it along the card three times,
laying it so the cutting edge didn't make a line. If you make
a mistake just cover it up with a flower lol!
My Just for you sentiment is placed just for that reason where it is!

Valentines Day will be upon us very soon have you
got your Valentine projects made?

Have lots of crafty fun everyone!

Thursday, February 08, 2018

Fairy in the Garden!


I started working on this card just after Christmas, it was left in pieces on my desk
while I was away at Creativation and Creative world! I tried so hard to finish it before I left......
Finally last night I put it together and glittered it all up! 

The Singing in the Rain collection is so cute and works perfectly
with the tree and swing from the Sugar Hollow collection. 
I can truly say I had fun making this card!
I love faries! Now roll on spring so I can get in my garden too lol! 

Have lots of Crafty fun everyone!

Monday, February 05, 2018

Gift Card Holder


Gosh it's been a while since I last posted...... apologies!
If you follow me on Facebook you will know I've been off at the trade shows
both in Pheonix and Frankfurt! We had a fabulous time meeting so many people!

Here is a gift card holder I made with the Heartfelt Love collection.
It's made from one sheet of paper and so easy to do! Die cut the border and
score the papers to the depth you want and glue the bottom flap as a pocket!
I used two sheets of paper adhered together for this as I wanted the particular papers 
as part of my project.

It would be a fun project for Mothers Day or a wedding too! 

Have lots of crafty fun my friends!

Saturday, January 06, 2018

Valentines Treat Bag Tutorial


Valrntines Day is just around the corner! Join me LIVE 
on Heartfelt Creations Facebook HERE to see all my top tips and tricks
to make this ez treat bag! It's not just for valentines it would be 
great for Mother's Day too!

I've wriiten up a tutorial here too so that you have somewhere to find all
the measurement and a link to the live!

Let's get started!
Directions:


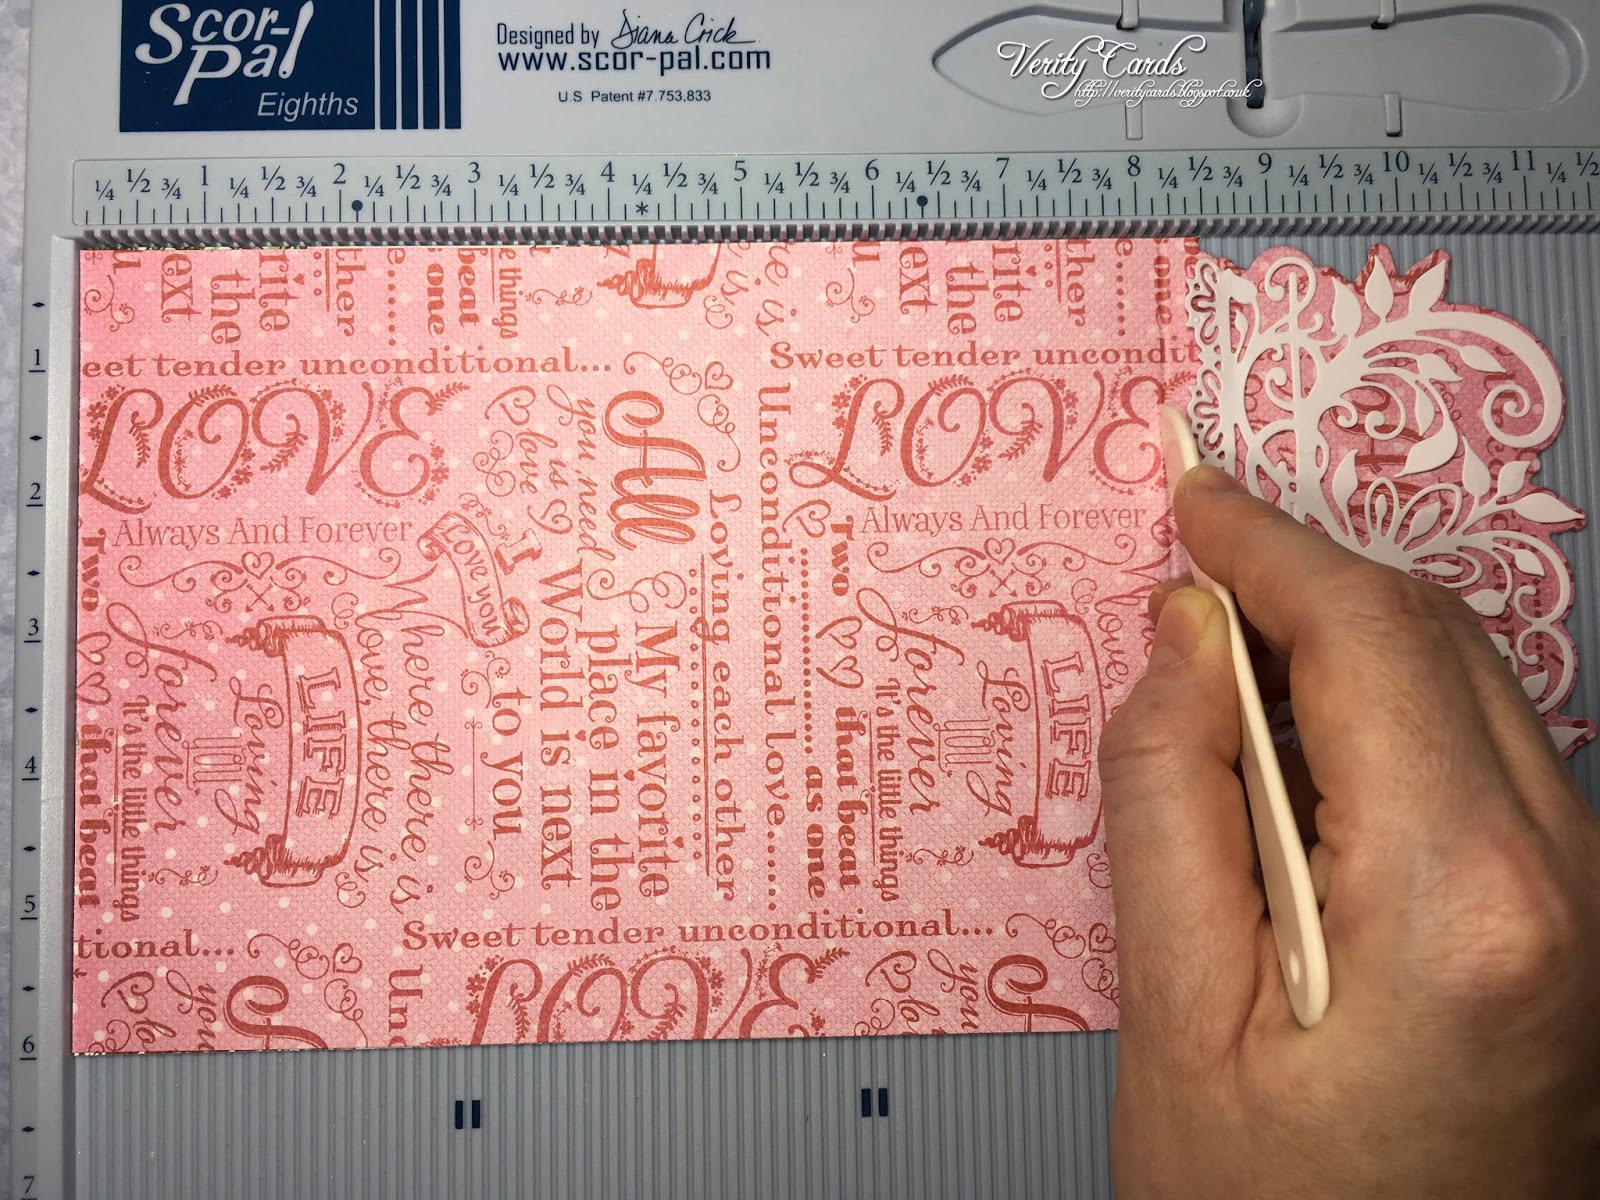
Step 1: Cut a piece of card/paper from the paper pad 6" x 11 1/2".
TOP TIP: I adhered two pieces of paper from the paper pad back to back for strength
and so I had the papers pf my choice on the inside!

Use the outer piece of the Sweetheart Borders Die to cut the front tab.
TOP TIP: THink about how the paper pattern lies, and cut it so that its the right way
on the front of the bag.

Die cut the fancy piece of the die in white card and adhere to the papers.

With the straight edge on the left score at 8 1/4" to for the front tab.


Step 2:  Using the same papers cut a piece  8 1/4" x 6" for the front of the bag.


Step 3: Using coordinating papers cut a piece 10" x 6" and score at 2" on all sides.


Step 4: Cut tabs into all the corners to make a box base for the bag.


Step 5: Using a heart die, die cut an aperture in the front piece of the bag.


Step 6: Using the lacy edge die, die cut it in white card.
Now use the straight edged heart die and cut the centre away to leave a border.
Adhere this over the aperture on the front of the bag.


Step 7: Adhere both pieces for the back and front to the box base.


Step 8: Use a velcro dot so that the front flap seals shut and decorate with flowers.


Step 9: Cut matching paper for a pocket 6" x 3" and a piece of white card 6" x 4"
Use the border die to cut along the top of the white card.
Adhere the paper to the white card and adhere to the back of the bag to make a pocket.
(Just glue the bottom and sides to make a pocket)
Decorate with a flower and add messgages or photo's into the pocket!

All you need to do now is fill it with chocolates! 
Add them in a cello bag so that they sit in the box base!

TOP TIP: You can punch two holes near the top of the back of the bag and tie the
gift to the bag so that a nice bow is on the back too!

To make the flowers you can see a tutorial HERE.

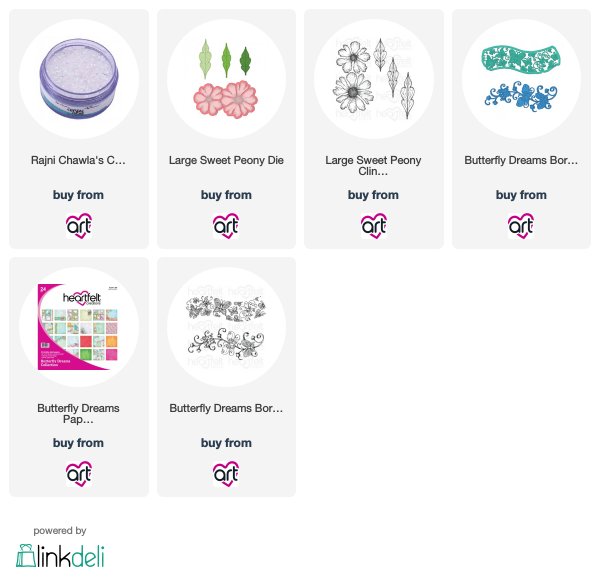
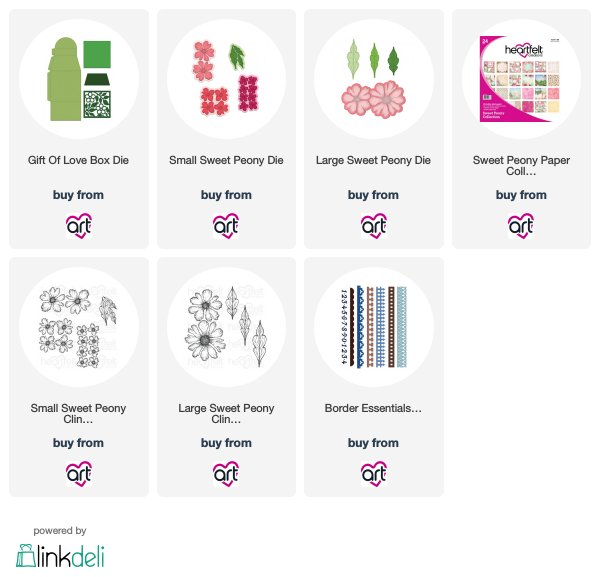
I used the following to make this project, have lots of fun making some too!
Make sure you share them on the Heartfelt Creations Facebook page,
we love to see what you make too!


Thursday, January 04, 2018

Making Roses the EZ Way!


I have been having fun with the new flower shaping molds!
WOW they really so make it so easy to make beautiful flowers everytime!


Stamp the Classic Rose flowers onto white card. I stamped mine in Berrylicious ink.
Stamp the leaves from the stamp set in brown.

Colour the leaves with a little of the Berrylicious in the leaf and use 
Bamboo Leaves to color the rest of the leaf.

Shade the flower centres with Harvest ink.

I stamped them all on one piece of card to make it easy to run through 
my diecutting machine in one go.


 Using the coordinating die, diecut the flowers and leaves.


Ink the edges of the flowers with Berrylicious ink and the
leaves with Bambook leaves for shading.


Place the die cuts in the mold, spritaz with water and then add the lid.
Run through the diecutting machine to mold.


Tip the flowers from the mold and you can see how beautifully shaped they are.

All you need to do now is use s flower shaping tool and use a circular motion 
in the centres, this lifts the petals. 

Take two of larger flowers and adhere ontop of each other so the petals
are inbetween each other.

Next take two of the next size down flowers and do the same adhereing them to the others.

Then take one of the next size down and adhere to the flower.

Lastly take one very small one and make a bud, adhere the next size up 
around it to make a larger bud. Them take one of the next size up and adhere the bud into the centre.
Adhere this into the centre of the rest of the flower we made earlier.


I will be making these LIVE on Saturday on Heartfelt Creations Facebook page!
Don't miss it you can see it HERE at 3pm UK time

Have lots of crafty fun!


I used the following to make the flowers: