Valrntines Day is just around the corner! Join me LIVE
on Heartfelt Creations Facebook HERE to see all my top tips and tricks
to make this ez treat bag! It's not just for valentines it would be
great for Mother's Day too!
I've wriiten up a tutorial here too so that you have somewhere to find all
the measurement and a link to the live!
Let's get started!
Directions:
Step 1: Cut a piece of card/paper from the paper pad 6" x 11 1/2".
TOP TIP: I adhered two pieces of paper from the paper pad back to back for strength
and so I had the papers pf my choice on the inside!
Use the outer piece of the Sweetheart Borders Die to cut the front tab.
TOP TIP: THink about how the paper pattern lies, and cut it so that its the right way
on the front of the bag.
Die cut the fancy piece of the die in white card and adhere to the papers.
With the straight edge on the left score at 8 1/4" to for the front tab.
Step 2: Using the same papers cut a piece 8 1/4" x 6" for the front of the bag.
Step 3: Using coordinating papers cut a piece 10" x 6" and score at 2" on all sides.
Step 4: Cut tabs into all the corners to make a box base for the bag.
Step 5: Using a heart die, die cut an aperture in the front piece of the bag.
Step 6: Using the lacy edge die, die cut it in white card.
Now use the straight edged heart die and cut the centre away to leave a border.
Adhere this over the aperture on the front of the bag.
Step 7: Adhere both pieces for the back and front to the box base.
Step 8: Use a velcro dot so that the front flap seals shut and decorate with flowers.
Step 9: Cut matching paper for a pocket 6" x 3" and a piece of white card 6" x 4"
Use the border die to cut along the top of the white card.
Adhere the paper to the white card and adhere to the back of the bag to make a pocket.
(Just glue the bottom and sides to make a pocket)
Decorate with a flower and add messgages or photo's into the pocket!
All you need to do now is fill it with chocolates!
Add them in a cello bag so that they sit in the box base!
TOP TIP: You can punch two holes near the top of the back of the bag and tie the
gift to the bag so that a nice bow is on the back too!
To make the flowers you can see a tutorial HERE.
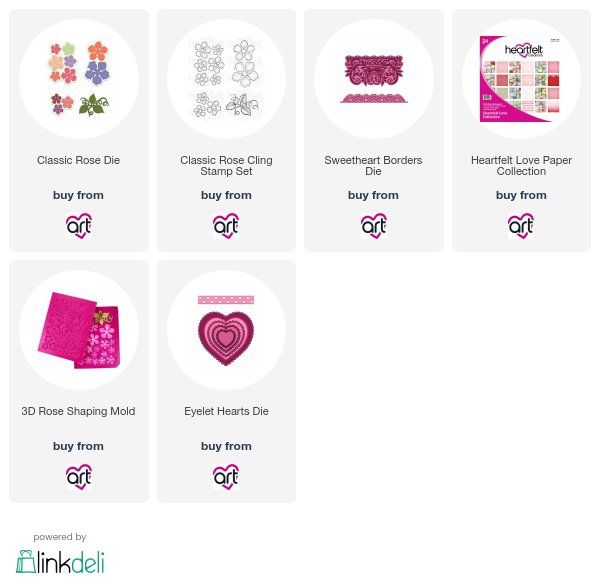
I used the following to make this project, have lots of fun making some too!
Make sure you share them on the Heartfelt Creations Facebook page,
we love to see what you make too!


Absolutely the most stunning gift treat bag. I can't wait to make one. Your video and instructions on here are the best. Thanks for the time you took to write up the steps and then do a video to show us step by step what to do!!!
ReplyDeleteHi Liz,
ReplyDeleteHow do I sign up for your blog posts?
If you go to my home page on the web version and not mobile version on the right is an email sign up. You get an email notify when I post! Hugs xxx
Delete