It's Heartfelt Wednesday and time for a new release!
I am having lots of fun with the Winters Eve collection,
and the poinsettias from last year go so well with it!
Make sure you stop by the blog and take a look at the amazing projects
the design team have made for you
HERE.
Today it's a white card, I so wanted to use the die cut as
a background to a sentiment, I just love layering things up!
I did struggle with the picture though, it was dark when I took it!
To make the card I used the following:
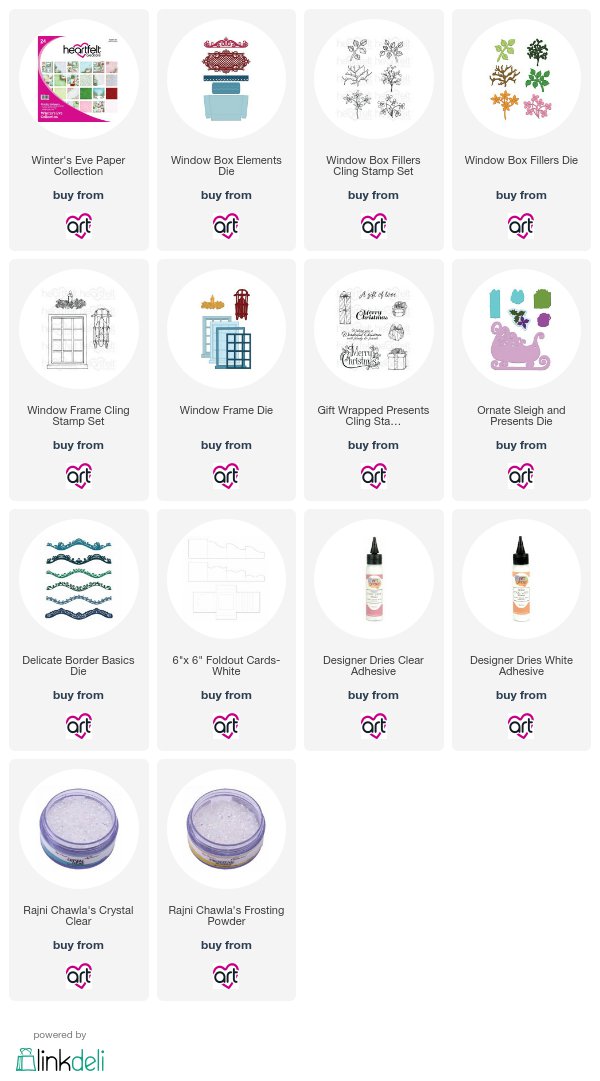
HCST1-401 Flower Shaping Kit
HCPC-3794 Window Frame Cling Stamp Set
HCD1-7148 Window Frame Die
HCPC -3796 Winter's Eve Stamp Set
HCD1-7150 Window Box Elements Die
HCD2-750 Cut Mat Create 1B Die
HCPC-3745 Ornate Sleigh Cling Stamp
HCD1-7104 Ornate Sleigh and Presents Die
HCD1-7106 Celebrate the Season Die
HCP-3747 Celebrate the Season Cling Stamp Set
HTSMP707 Memento Bamboo Leaves ink
TSMP900 Memento Tuxedo Black ink
TSMP300 Memento Lady Bug Ink
TSMP709 Memento Northern Pine Ink
TSMP103 Memento Cantaloupe Ink
71053 ColorBox Berrylicious Ink
ANC850 Spring Bling Prills (Lemon Chiffon)
241159 Dove blender Kit
159723 Dries Clear Adhesive
PGM15016 Rajni Chawala Frosting Powder
NU667 Nuvo Crystal Drops - Red Berry
HCDA1-449 Precision Daubers
RLHS100 Hydra Sponge
DDOTS 3D Foam Circles
HCPP2-451 White Card
Other Supplies: Distress Tool
Use an A2 white tent fold card. Cut another piece of white card 1/4"
smaller than the card base. Using the distress tool, distress all the edges.
Using the sponge apply glue to all the edges and
cover with frosting powder. Die cut the die from the Window Box
Elements Die set, stamp the sentiment in black ink and die cut with
the Cut Mat Create die. Apply glue to both die cuts and frosting powder.
Adhere both die cuts with 3D foam pads to the card. Stamp the poinsettia flowers
and color with the Berrylicous ink for the flowers and Bamboo Leaves
for the holly. Shape using the flower shaping kit, apply glue
over the petals and frosting powder and adhere prills to the centres of the flowers.
Adhere to the card. Stamp in black ink the candle and color with Lady Bug, Northern Pine and Bamboo Leaves and Cantaloupe for the flame. Glitter and
add Nuvo Red Berry drops for the holly berries. Adhere to the
card and your project is complete.
Happy Crafting everyone!