As promised during my Facebook Live here is the tutorial
on hoe to make this fun snowflake shaker card!
If you missed the live you can watch it
HERE.
I had such fun making different things with the Snow Kissed Flakes and Tag die set!
I will share some of the projects with you over the next few days!
So let's get started with this shaker card!
Step 1: Fold a piece of card so you have a 5" x 5" tent fold card and
using the outer snowflake die cut to make a card.
Make sure you cut inside the top of the flake for a folded edge.
Step 2: Fold the front of the card in half to make the base of an easel card.
Die cut a single piece using the outer die also.
Step 3: Adhere the die cut to the folded piece of the easel card.
Die cut another from the Winter's Eve paper pad and adhere to the bottom
of the card. Also die cut a snowflake in white card using the inner die and adhere
to the base also.
Step 4: To make the front of the shaker card die cut the following:
1 x Snowflake in paper from the paper pad.
1 x Outer die using clear card.
1 x Frame using both dies together.
Step 5: Adhere the frame onto the acetate using dries clear glue
and a fine metal tip. Make sure not to get glue over the acetate.
Step 6: Snip the snowflake apart and adhere into the frame on your acetate.
Step 7: Adhere 3D foam pads around the edge of the front of the shaker. Make
it a double layer to give extra depth for your bits to shake well.
Cut the outer die using the papers for the paper pad so you have a scene
at the back of your shaker.
Step 8: Adhere the back to the acetate leaving a small section open
and add your bits to shake! I used prills and sequins in mine.
Adhere this to the easel card.
Step 9: Adhere flowers and a sentiment and you card is ready!
Have fun making some of these!
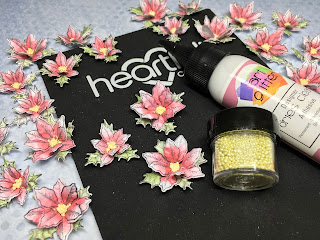
To make the flowers see this tutorial
HERE
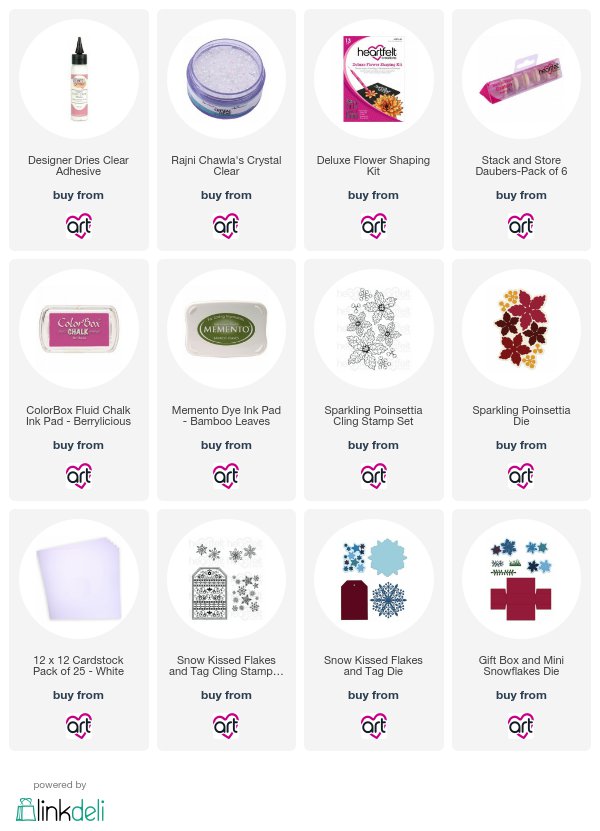
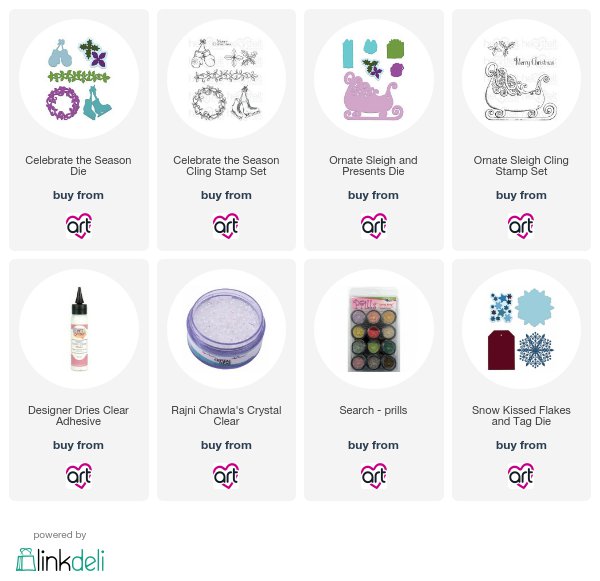
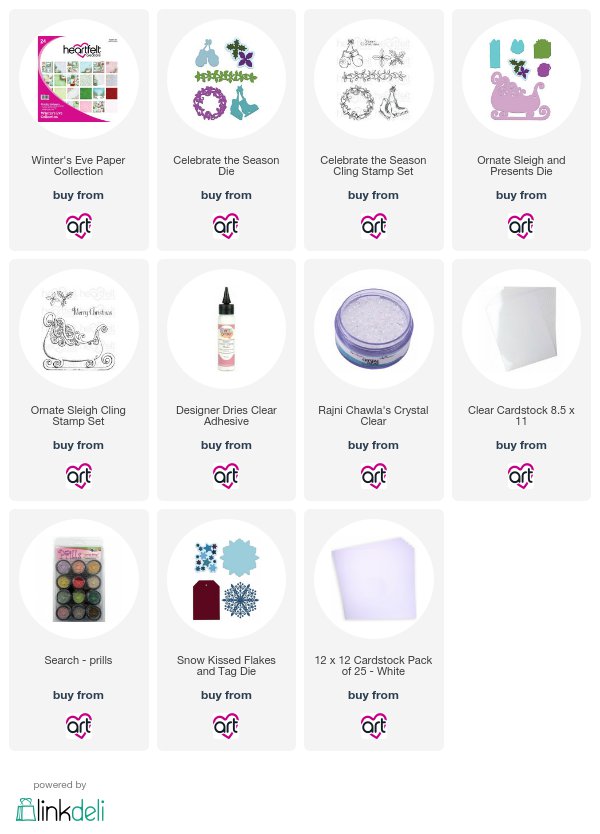
To make this project I used the following:


