
Here is a photographic tutorial on how I made this photo cube.
Much nicer I think than those plastic 70's ones !!! hehe
I made this for my DT work for Heartfelt Creations
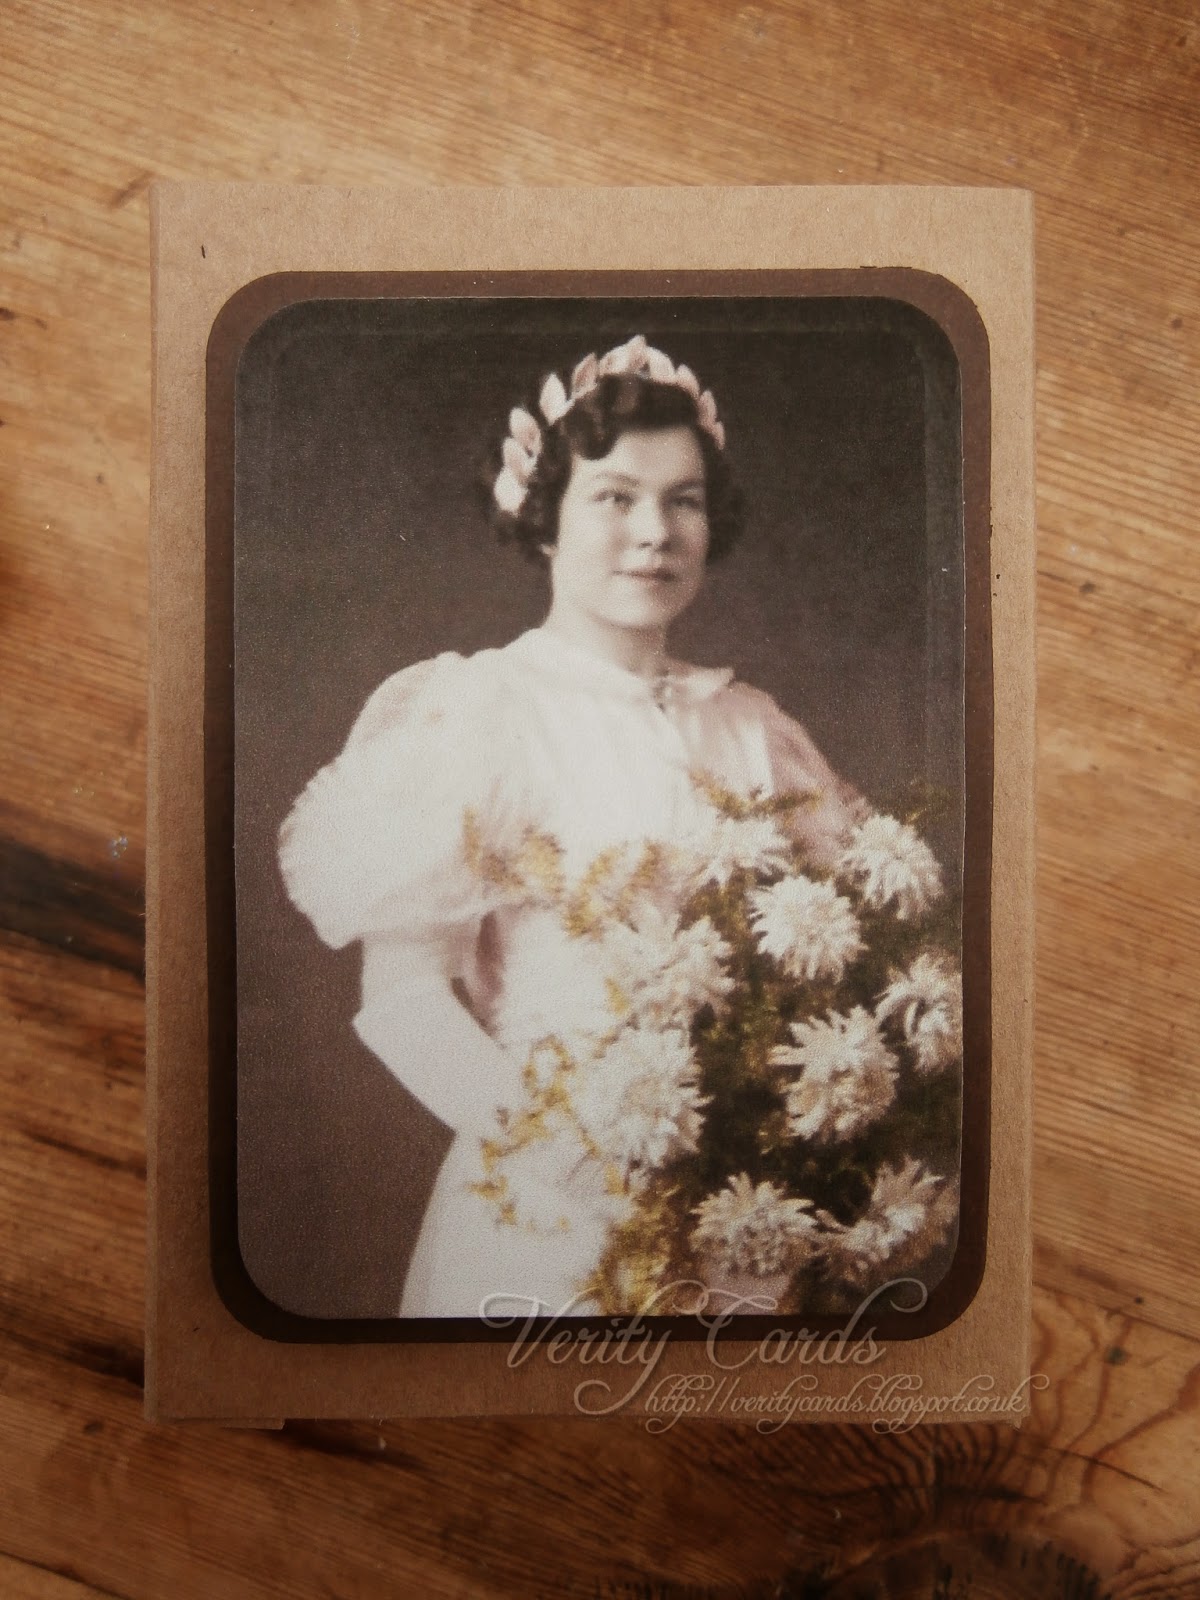
Using the 3 3/4" x 2 3/4" rectangle from HCD 750 dies,
die cut four photographs.
The ones I chose are 1940 and earlier so they are in sepia.
Hence my choice of Kraft card and brown card
so that the photos are set off !

Using the 4" x 3" die from HCD 749 die set,
die cut four pieces of card.

Mat and layer the photos onto the card using
3D foam pads.

Cut two pieces of card 5 1/2" x 7" to make the sides of the box.
Cut two pieces 5 1/2" x 5 1/2"

Using the square pieces of card,
score 1" around each side of each piece.

Cut a triangle out of each corner to make a flap
which will be glued to the side to make the box base.

Fold the score lines and adhere the corners to make your box base.
Do this to both square pieces of card.

Using the two rectangle pieces of card
score at 3 1/4" and 6 1/2"

Adhere one of the box bases to the side within the score line
of the middle section.

Do the same with the other box base at the other
end of the sides of the cube.

Now glue the small flap to the box base's

Using the other side piece adhere the small flap
to the box bases in the opposite direction to the other.

Adhere the sides down.

Your cube is now formed!

NOW ........... I forgot this bit as I was making it so
you have to imagine I have inked the edges in the rest of the photos !!
I know ............ but its so easy to do !!!
I know ............ but its so easy to do !!!
So........... Ink all the edges using tea dye distress inks!!
Adhere the photos to the sides of the cube using 3D glue.
Using the dies from HCD 752 and 751 die cut
the larger in brown card and the smaller in Kraft.

Adhere together using 3D foam pads.

I love 3D glue, look how it holds its shape.

Adhere the sqaures to the cube with 3D glue.

Now all you need to do is decorate !!!
I used Majestic Morning flowers and the leaf swirls from
HCD 750 and HCD 751.
The leaf swirls I inked using Peeled Paint Distress inks.
For the flowers I used Victorian Velvet distress ink,
and clear glass beads for the centres.

Any questions please ask !!
Happy crafting.
BRILLIANT I just LOVE this.
ReplyDeleteThank you for the wonderful step by step Tutorial
Have a great day
Patricia x
Gorgeous Photo box Liz! Love the colors and great tutorial : ). xx
ReplyDeleteBeautiful!
ReplyDeleteJust found your blog as I was going through Heartfelt Creations blog and saw your cube. I love this idea, and Thank you for the step by step tutorial. I hope you don't mind if I case this and will give you credit by listing your blog on my blog. If you'd like you can email me - stampndeb00@yahoo.com
ReplyDeleteI am also a new follower, love your style in all your cards and all your other creations as well. :D
Deborah xxx
Aww thank you! Of course you can case it, thanks for giving me credit. Have a great day! Hugs xx
DeleteThank you Lizzie. :D If you want to see when I post it my blog is http://creativedesignsbystampndeb00.blogspot.com
DeleteI will be posting this in a few weeks on Scribble and Scrap Challenge Blog, as I am part of the DT. :D
Thank you again.
Deborah xxx
i love love this cant wait to try it thank you
ReplyDelete