Friday, July 14, 2017

On your wedding day.


Thought I would share this wedding card today.
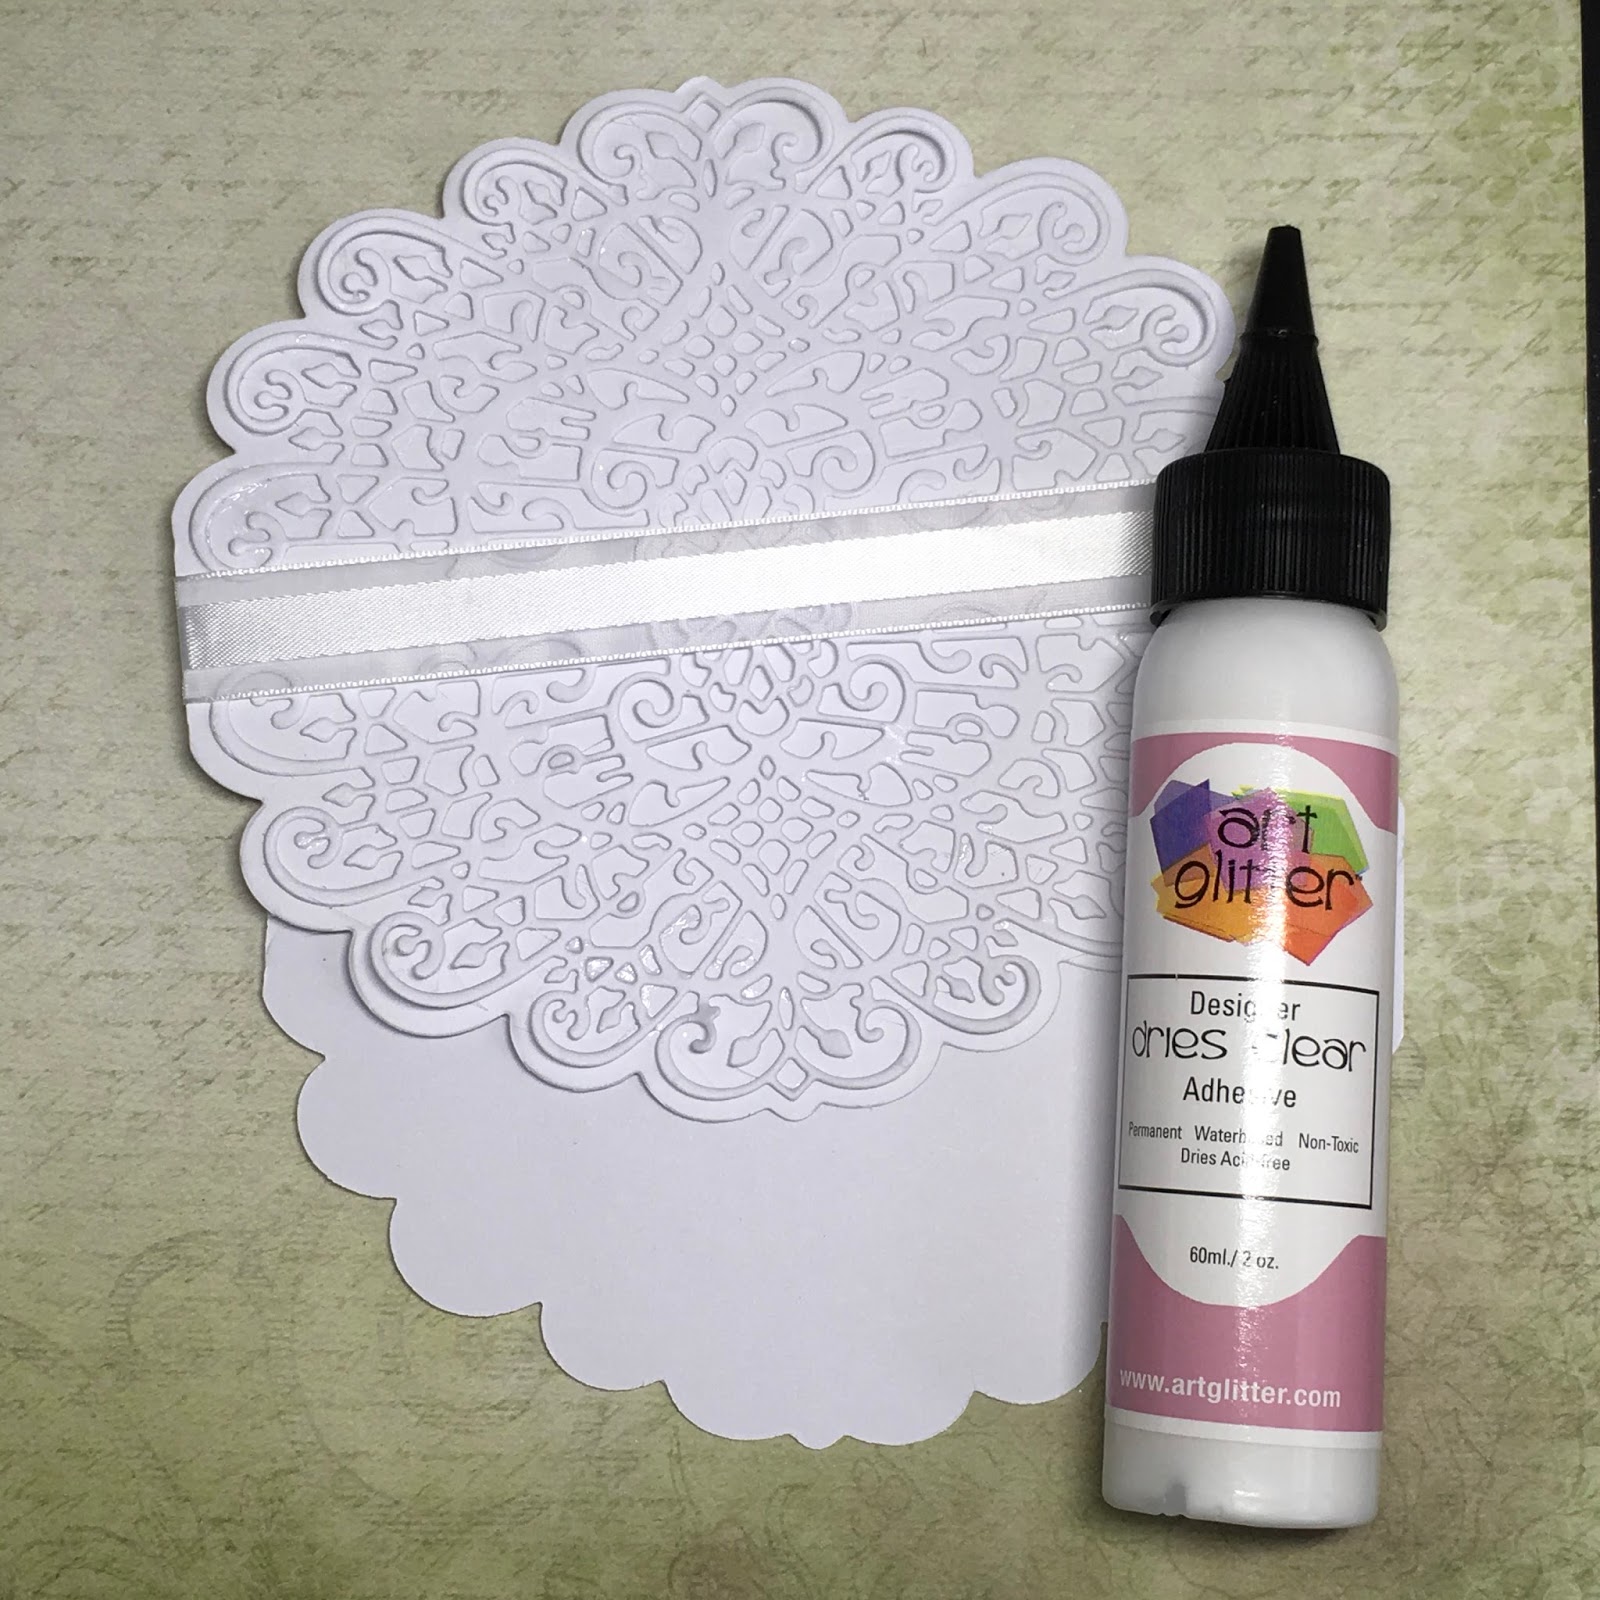
It's another fun shaped card using the Decorative Medallion dies!
The base both back and front has a fancy base which you could use 
either as is or turn it so they are on the side of the card! 

To make the card I used the following:

Have lots of crafty fun! 
I have been getting all glittery making Christmas cards! 
And yes the glitter went all over the house!!! lol! 

Wednesday, July 12, 2017

Festive Holly - Merry Christmas


It's that time of year again! Christmas in July!
Today the Festive Holly collection has released here at Heartfelt Creations.
Wow, I have had so much fun with this collection!
This is the very first Christmas card I have made for 2017, I'm sure
there will be lots more to come yet!!!!! 

Make sure you take a look at the blog today, there are some amazing projects on there!
PLUS I will be LIVE on Heartfelt Creations Facebook page at 3pm Uk time HERE
Make sure you join me for some EZ colouring tips and snowy effects for the stamped images!

Happy Crafting Everyone! 

Monday, July 10, 2017

EZ ways to make shaped cards & a Facebook Live!


Create EZ shaped cards with the Arch Medallion die!
Watch my Facebook Live HERE to see how I made all of these projects! 

I used the Classic Wedding collection and the Flowering Dogwood collection
together on my projects as they work together so beautifully to create wedding projects!


Use the Arch Medallion on top of your cards.


See how to cut the arch onto a larger card!


Both dies from the set are used on the back of this gift bag!
They make great pockets!


A name place card! Perfect for any occasion!


There is a step by step tutorial to make this card above HERE


An there is another tutorial to make this card HERE


And one last tutorial HERE to make this basket!

As you can see I had such fun making these projects!
Hope you like them!
Crafty Hugs xxx


Sunday, July 09, 2017

Make a shaped card with the Arch Medallion die

I have had fun making shaped cards using the Medallion dies 
from the Classic Wedding collection!
Even my hubby came up with some ideas lol looks like the crafting
is rubbing off on him!!! 

Here is a tutorial as promised how to make this card with the Arch Medallion die!
It's a lot easier than it looks, who would have thought a semi circle die
could make such a beautiful shaped card! 

Directions:


Step 1: Cut a 5 1/4" x 5" piece of card and put the card through the die
as in the picture above so the bottom cutting line is at the back of the card 
and wont cut through the card. Leave a section of the fold so it
doesn't cut in the die, this makes the fold for the card.


Step 2: Turn the card upside down and place the card through the die
to cut the bottom of the card.


You will have a card looking like this now.


Step 3: Cut a piece of card larger than the card base but 5 1/4" wide
and cut the top of the card with the die.


Step 4: Put the card you have have just cut through the die
and place the card base over it. Line it all up so the edges match and
shuffle the die so there is a snug fit to the card base on the 
single piece of card. 


Step 5: Remove the card base and die cut the single sheet of card.


Step 6: Die cut two of the decorative arch dies and adhere 
a piece of ribbon across to cover the gap.


Step 7: Adhere to the card base.


Now all you need to do is decorate!


For my card I used the Flowering Dogwood collection and the rings
from the Classic Wedding collection.

This could make a gorgeous christening, baptism or confirmation card too!
Just have fun using your dies, the possibilities are endless! 


Basket Tutorial with the Medallion dies


When I get new dies I like to cut them out and just play with them.
It was by my hubby turning this die upside down
I came up with this idea, until that point I didn't see it as a basket!
Here is how you can make one too.

Directions:


Step 1: Die cut two of the Arch Medallion dies.


Step 2: Cut a piece of card 7" x 5 1/2" and score at 2" on all sides.
Cut the corners to make tabs,


Step 3: Fold along the score lines and adhere to make a box.


Step 4: Adhere the Arch Medallion die cuts to either side of the box and 
trim the little notch on the bottom so that they stand flat.


Step 5: Cut two strips 1" x 11 1/2" and one 1 1/4" x 11 1/2"
Die cut the sides of the larger piece with the Swirling die.
Adhere the two other pieces either side of the die cut strip.


Step 6: Stamp 2 x Blossom Filled stamps in brown ink and
colour with inks and a blending pen.
I used Toffee Crunch, Bamboo Leaves and Berrylicious.

Die cut the images with the coordinating die.


Step 7: Cut apart the Dogwoods and adhere over the handle leaving a 
small gap for the handle to be adhered to the box.


Step 8: Adhere the handle to the box and more flowers on the sides.


Step 9: Adhere a flower and leaves along the top of the box side
where the handle and box meet.


Decorate as you choose, these would make fun gift bags for bridesmaids
at a wedding or name place settings too! They could be filled
with confetti for each guest, there are so many ways to use this!

Have lots of crafty fun!

Friday, July 07, 2017

Shaped Card Tutorial


Today I thought I would share a fun shaped card tutorial for you 
to make with the Medallion Dies from the Classic Wedding collection.
Lots of people have asked how to make this so I thought
I would do a quick tutorial here on my blog.

The front is shaped, but you need to make sure you make the back and the front
the same size or the card will lean if vertical!
Horizontally it doesn't matter
it will stand perfectly!

It really is EZ when you know how and you can quickly make cards like this
for any special occasion. I made some card blanks in five minutes today
so that I can make some more of these! 

Remember you can use this card horizontally as well as vertically!
I am loving these dies, there are so many different card blanks you can make 
with them! Keep watching for more tutorials coming soon and a Facebook Live
over on the Heartfelt Creations page!

Directions:


Step 1: Cut two pieces of card 7" x 5" and die cut the ends of one piece 
with the Arch Medallion die by slipping the paper through the 
die so the bottom of the die doesn't cut.


Step 2: Lay the die cut piece on the other and trim so that they fit
perfectly a in the picture above other wise the card will lean when finished.


Step 3: Measure the straight centre edge of the front of the card and cut a piece
of card that long and 2" wide.


Step 4: Score the small piece of card at 1" along the length of it and fold in half.


Step 5: Adhere the small piece which will act as a bracket to the front
of the die cut piece of card.


Step 6: Adhere the other side of the small piece of card to the uncut piece of card
that will make the back of the card blank.


Step 7: Cut a piece of paper to cover the inside of the card blank,
covering the adhered piece of card.


Step 8: Cut two of the decorative arch dies for each end of the card front and decorate.
I used stamps paper and a card panel from the Classic Wedding collection.

Have fun making your cards! Hugs x 

Wednesday, July 05, 2017

For the Bride and Groom


I needed a quick wedding card for a friend this week!
Thankfully I had my stash of images all ready and a tray of flowers I could pick from!
It really helps having some things all ready for use!

To make the card I used the Heartfelt Creations Classic Wedding collection
and the Spellbinders Heirloom Rectangle die as the card base.

Stop by the Heartfelt blog for new inspiration today and a peek at the Festive Holly Collection
releasing July 12th, make sure you take a look HERE you won't be disappointed!


Have lots of crafty fun everyone! Hugsxx