
I needed a box for my daughter's present ........ but shhh don't tell her !!
I thought this would be perfect as a jewellery gift box.
A pair of earrings in the top and a necklace in the bottom drawer.
As I made it I thought I would do a tutorial on it too!!
I made it from Heartfelt Creations Raindrops on Roses paper pad,
and the butterfly stamp from the Sunflower collection.
This is a look at the back of the box.

To make it I did the following:
TO MAKE THE BASE DRAWER SECTION
Cut the following:
1 x 8" x 8" white card
1 x 4" x 13" white card (cut from an A3 sheet)
1 x 4" x 4" paper for outer top
2 x 4" x 2" paper for outer sides
1 x 2" x 5" paper for the outer back
1 x 1 3/4" x 3 3/4" paper for outer drawer front
3 x 4" x 2" paper for the inner sides
1 x 4" x 4" for the inner base

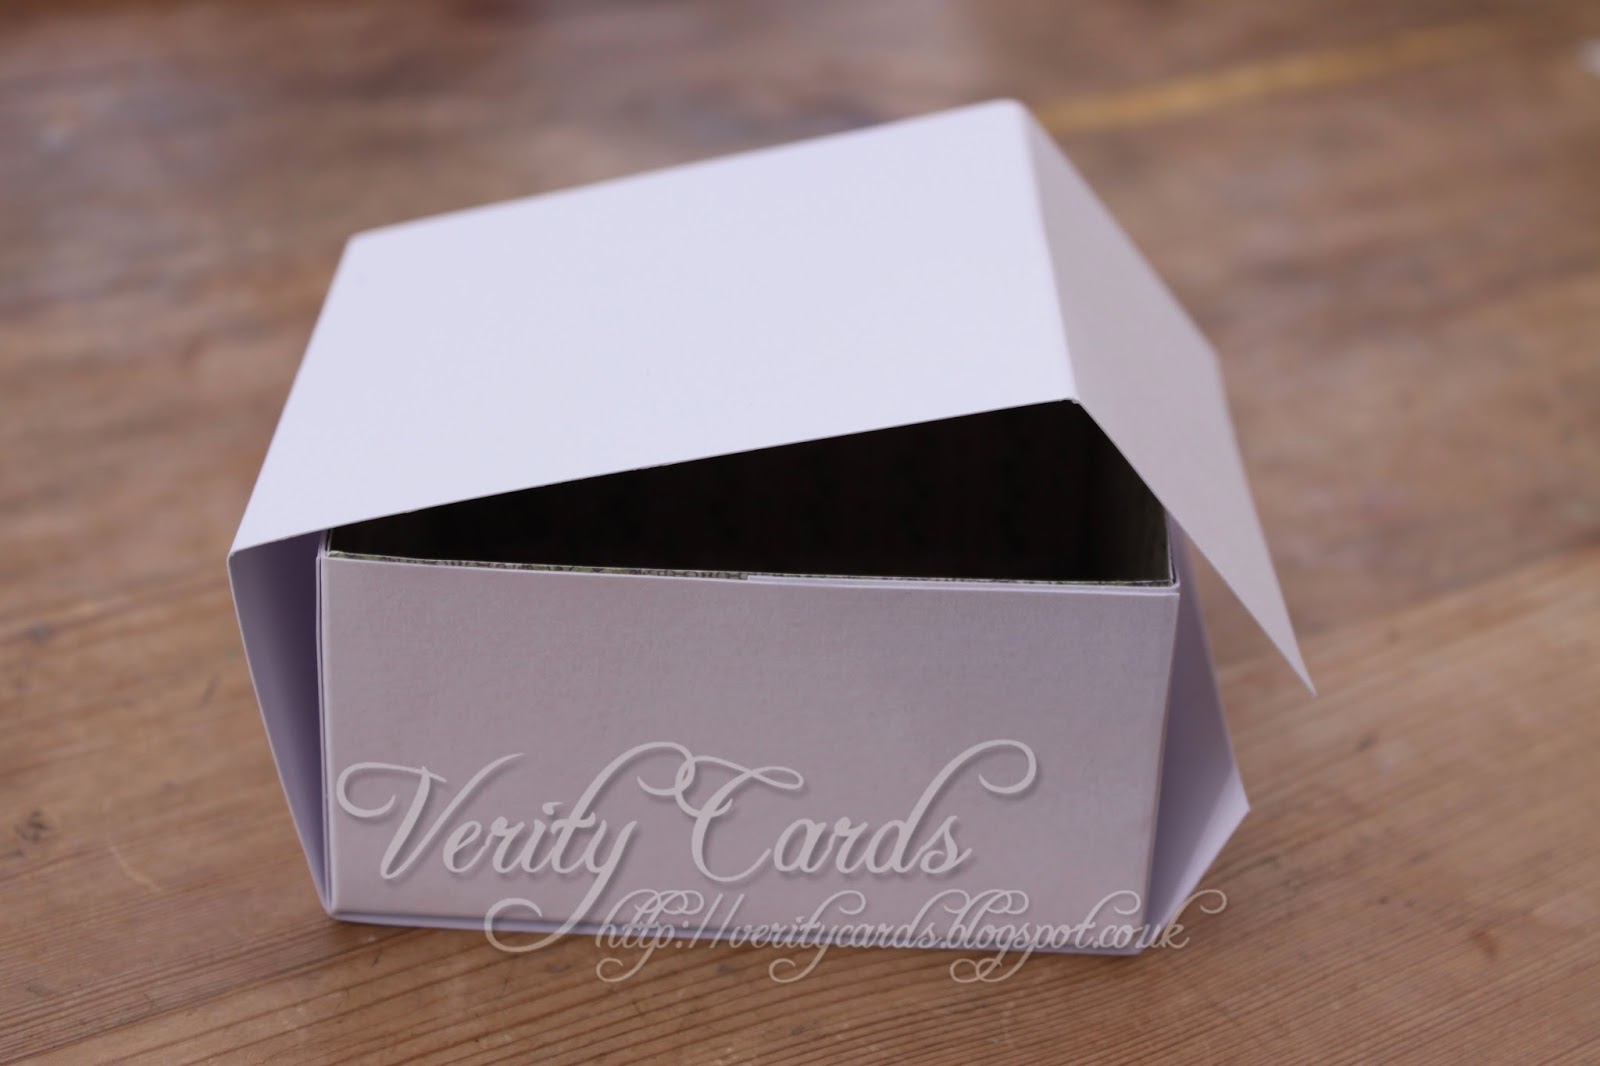
Using the 8" x 8" white card score 2" on each side.

Cut into the corners to make tabs to adhere to form the box.

Fold along the score lines and adhere the tabs to make the box.

Adhere the inner paper pieces to the inside of the box.
(TIP trim 1mm off one side of the side pieces and two sides
of the base square to get a really good fit. Being the inside
of the box it is just slightly smaller than the outer sides.)

Using the 4" x 13" piece of white card score at 1/4" on one edge.

You could score along it to make the folds for the warp around BUT
the better way is to wrap the card around the box making your own folds. This
way the drawer can slide inside the wrap otherwise it can be too tight
and the drawer wont open !!
Adhere the wrap together at the 1/4" piece you scored.

Now take the 2" x 5" piece of paper for the outer of the box.
adhere it over one open end to form the back of the drawer section.
I scored 1/4" on the paper and adhered it to the side, folding it over the edge
of the other side and adhering it in place.

Using the other side pieces 2" x 4" adhere around the sides of the drawer.
Adhere the side pieces to cover over the pieces from the back.

TO MAKE THE TOP DRAWER SECTION
Basically we are going to do exactly the same thing but on a smaller box!
Cut the following:
1 x 5" x 5" white card
1 x 1 1/2" x 8" white card
1 x 2" x 2" piece of paper for the inner
4 x 2" x 1 1/2" paper for the inner
1 x 2" x 2" paper for the outer top
1 x 1 3/4" x 1" for the front of the drawer
2 x 2" x 1 1/2" paper for the outer sides
1 x 3" x 1 1/2" paper for the outer back

Using the 5" x 5" piece of card score 1 1/2" on all sides.

Cut into the corners to form tabs.

Fold along all score lines and adhere the box together.

Adhere the inner pieces of paper to the box
(Remember the top tip from the larger drawer)

Using the 1 1/2" x 8" piece of white card score 1/4" on one short side.

Wrap the card around the box as before.

Adhere the warp together along the 1/4" scored section.

Cover the sides and top of the box, remember to adhere the
back piece first as we did with the larger drawer.
(Score 1/4" and adhere to the side and fold over the other edge adhering in place)

Adhere the two drawer front pieces to the drawers.
Using a hole punch punch one hole in the top drawer in the centre,
and two holes in the bottom drawer equally spaced.

Put brads into the holes and fasten.
the brads are used to open the drawers with.

Cut a piece of white card 5" x 5".
Cut a piece of paper 4 3/4" x 4 3/4" and adhere to the white card.
This will form the base of the project.

Adhere the bottom drawer onto the base in the centre of the card.

Adhere ribbon around the bottom of the drawer section where it meets the base.

Now hot glue string pearls along the base.

Using the top drawer adhere ribbon along the bottom of the drawer.

Adhere the drawer to the bottom drawer.

Hot glue string pearls around the bottom of the top drawer.

Adhere string pearls around the top edge of the bottom drawer.
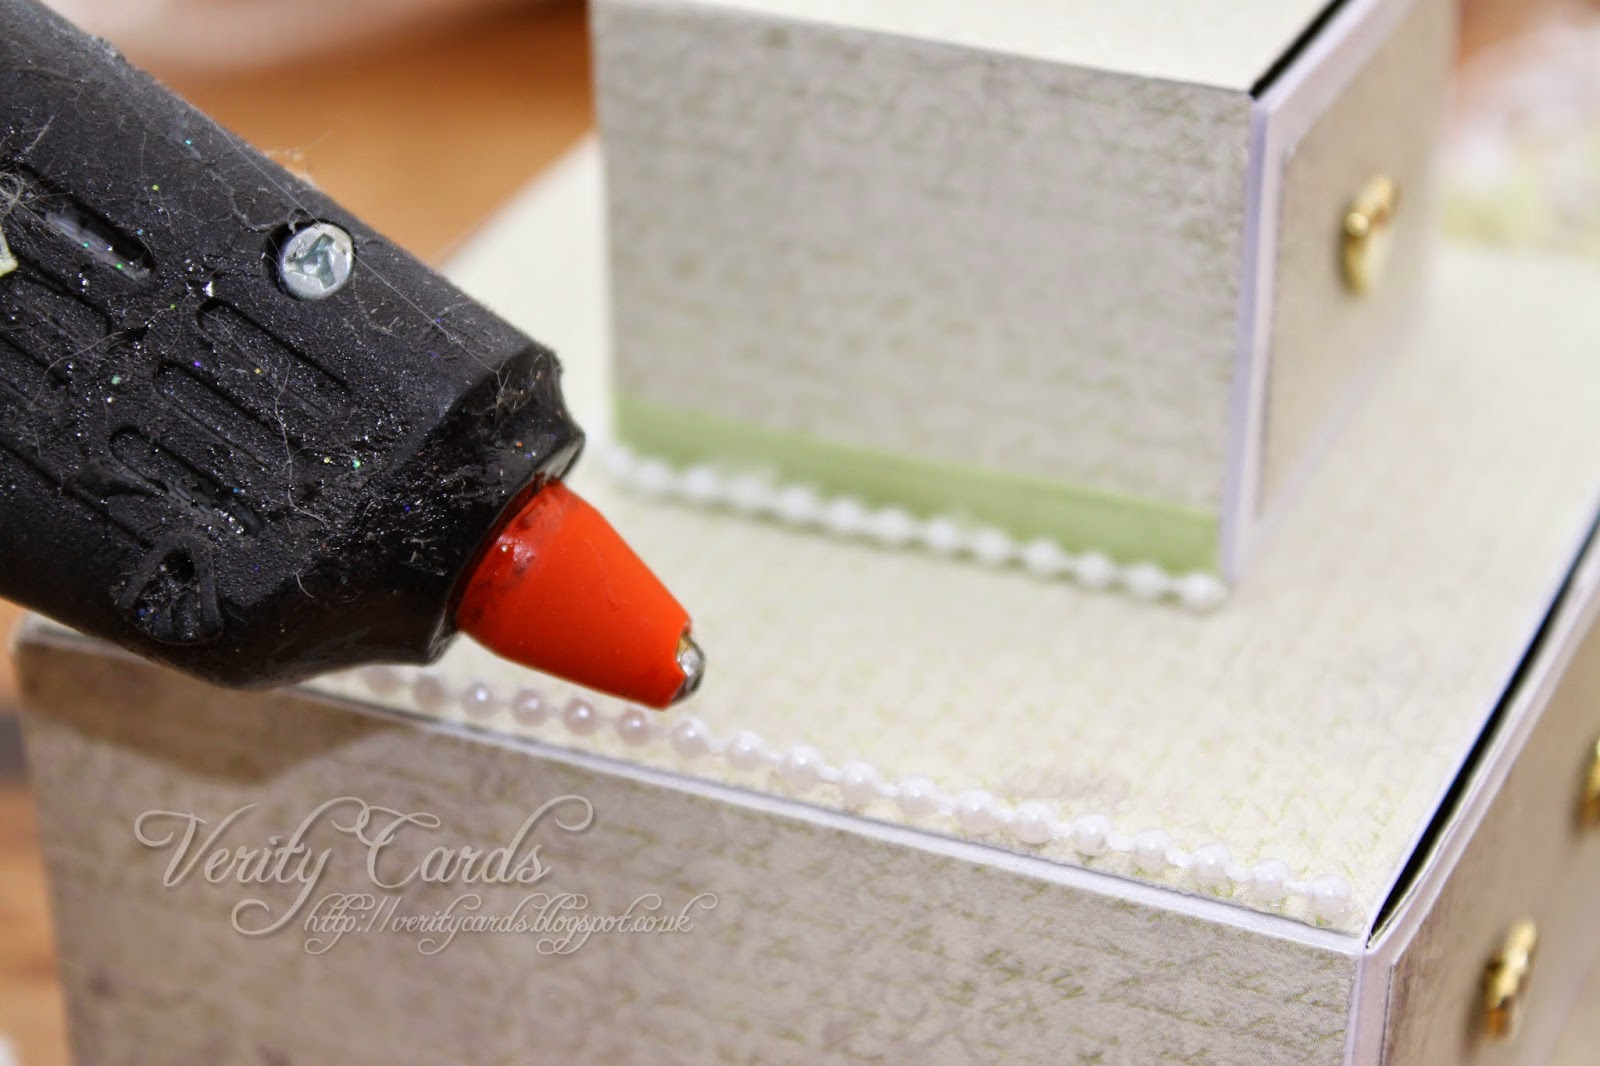
And adhere string pearls around the top of the top drawer.

Now all you have to do is decorate it as you wish !
This is a photo with the drawers closed.
I also decided to adhere the front papers with 3D foam pads to
give some dimension to the project.

Here is a close up of the back of the project.
as you can see I used inks to colour the swirl leaf die cuts.

Hope you have fun !!!
Happy crafting !
What a gorgeous box Lizzie . . . will definitely be having a go at this later on for my girls. I have 3 daughters and 4 granddaughters so guess will have to make several to not disappoint anyone. Thanks for sharing. Sue x
ReplyDeleteAwesome! No you know if one sees it they will all want one!! Hehe! Have fun!! Liz
DeleteBeautiful. We are kindred spirits as I love making boxes and mixed with my obsession with flowers (which is partly your fault again!)...this is perfect! TFS x
ReplyDeleteHehe! I get so much enjoyment from making flowers! And boxes are my ultimate fav!! Have fun making one!
DeleteBeautiful! I think we are kindred spirits as I love making boxes and coupled with my flower making obsession (which is partly your fault again for buying all those HC dies)....this is perfect! :)
ReplyDeleteWoow es precioso me gusto mucho, gracias por el tutorial :)
ReplyDeleteJust FABULOUS!!
ReplyDeleteWow! the box is a gift in itself, absolutely beautiful. Thank you for the tutorial Liz. Pat x
ReplyDeleteWhat a fantastic gift so very beautiful indeed and a very detailed tutorial thank you.
ReplyDeleteHugs
Margaret
This looks great will definitely have a go at making some for our church sale
ReplyDelete