Thursday, June 12, 2014

I will be with you always


Here is my second project this week for Heartfelt Creations !
Remember if you leave a comment on their blog
before the 17th June 2014 you could win the whole release !!
Go check it out click on the pic below !!

Heartfelt Creations

This was a very simple card to make but so effective !
Here is what I used to make the card:

459222 Paper Blossoms Tools
452255 Grand Calibur
HCPC 3613 Arianna Hummingbird PreCut set
HCD 747 Arianna Lace Die set
HCD 748 Arianna Blooms Dies
HCDP1 244 Arianna Blooms Paper Pad

Other Products Used : Black Ink,  Victorian Velvet Ink, glitter Glue, 
All purpose glue, 3D foam pads, pearl gems, white card, green card.

Using the white card cut a 6" x 4" tent card. Cut a card front from the 
paper pad and adhere to your card. Cut the centre of a matching card front 
and stamp your image on. Adhere to the card using 3D Foam pads. Die cut
the swirls for leaves. Stamp, cut, shape, ink, glitter and add pearls
to the flowers. Adhere the flowers and leaves to your card and your
project is complete.

Happy crafting !!!
Can't wait for next Wednesday I have a Photographic tutorial
for the project I have made !!

Wednesday, June 11, 2014

Pillow Box


Whoop whoop its Wednesday and We have a new release
for you at Heartfelt Creations !!!
ARIANNA BLOOMS !!
Here is my first of two projects this week for you.

Click on the pic below to go check it out !
Remember if you leave a comment on their blog before
the 17th May 2014 you could win the whole release !!

Heartfelt Creations

To make the box I used a free downloadable template which I found HERE
I used the larger template which makes a 6" x 4" box.
I used two of the stamps to make the pattern on the paper and glittered it up !
I looked at the heart die and immediately saw a flower ! 
There is a tutorial HERE on how I made this flower from the die !
Please go check it out.
As I was making it my OH did a double turn and said how much he liked it,
its not often he notices anything I make !!! hehe !!


To make my project I used the following:
459222 Paper Blossoms Tools
452255 Grand Calibur
HCPC 3611 Arianna Bird Haven PreCut set
HCPC 3612 Arianna Birthday PreCut set
HCD 747 Arianna Lace Die set
HCD 748 Arianna Blooms Dies
HCDP1 244 Arianna Blooms Paper Pad

Other Products Used : Score Board, Victorian Velvet Ink, glitter Glue, 
All purpose glue, 3D glue, pearl gems

Draw around a pillow box template on a paper from the paper pad. Score and fold
along the lines and curves. Using the two swirl stamps from the two sets stamp
over the middle part of the box not the sides. Glitter over the images and 
leave to dry. Adhere and fold the box together. Make the flower using the dies, 
I have made a tutorial here for this.
http://veritycards.blogspot.com/2014/06/ariana-flower-die-tutorial.html
Cut a journal square from the paper pad and cut a contrasting piece 1/4" larger
than the journalling square you chose. Adhere with 3D glue to the pillow box.
Adhere the flower to your box and your project is complete.

Ariana Flower Die Tutorial


I thought I would share with you how I made this flower.
I used it on my DT pillow box and card for Heartfelt Creations.

Heartfelt Creations


It is made using the Arianna Blooms Die HCD 747
and these are the pieces I used from the set.


Using white card cut two of the heart doily dies out and 
one each of the stamens.


I chose to make the flower pinky and I used
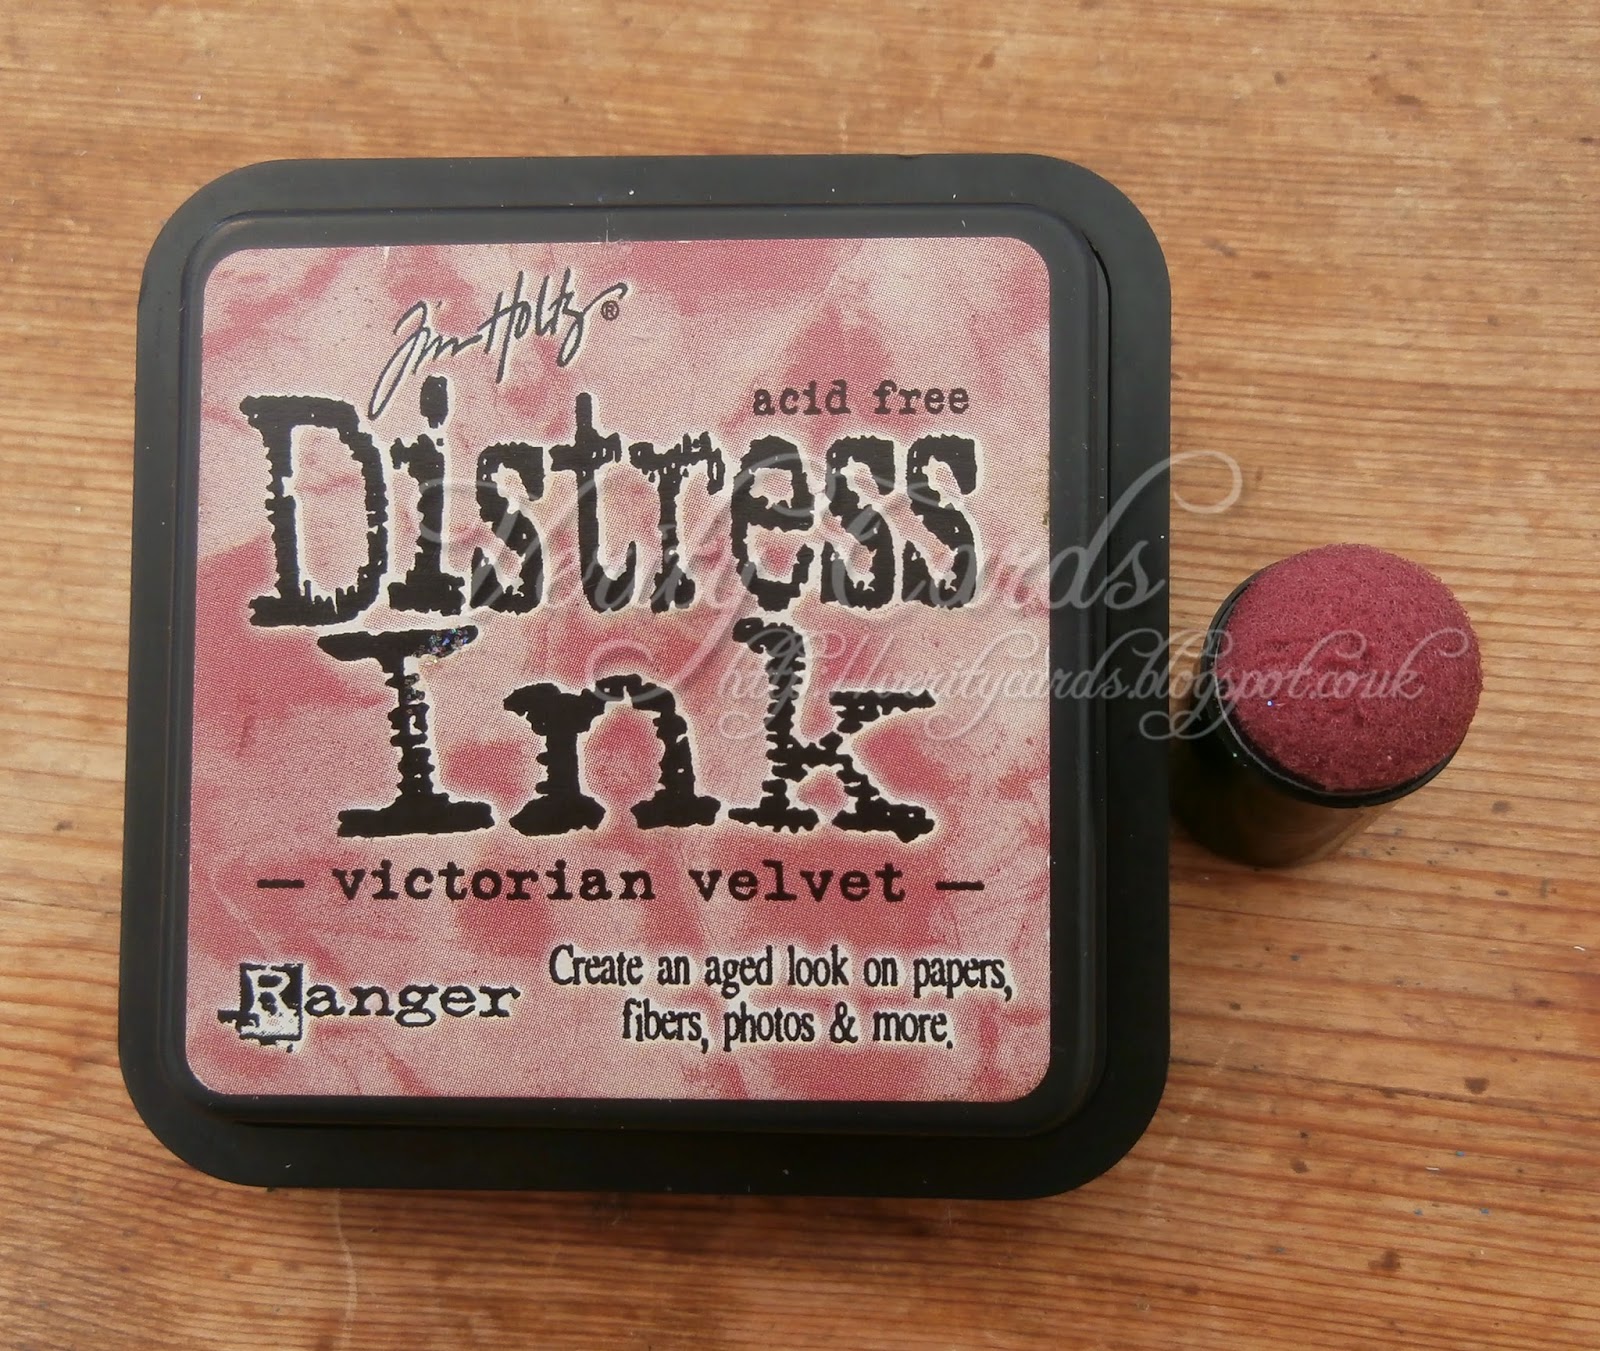
Victorian Velvet Distress Ink apply it with a dauber
that sits on your finger for application.


Ink around the edges of both die cuts


Now shape each petal around something round.
A pen can do it doesn't have to be a fancy tool.
Just curve it round so the petal has shape.


For the lower die cut of the flower gently shape the petals.
But for the inner die cut make them more defined so they stand proud.
I have tried to capture this in the pic below.


Using the same ink as on the petals Ink both sides of the stamens.


Glitter (I use glitter glue) the inside of the stamens
and leave to dry. 


Glitter the edges of the petals and leave to dry.


When dry shape the stamens in your fingers and adhere
together layered up. Make sure they sit so that
the stamens are between each other on the layers. 


Adhere your flower layers together and 
adhere the stamens to the centre of the flower.


Adhere a pearl gem to the centre and put glitter glue
around the edge of the pearl.


Your flower is now complete and can be used on your project !


Hope you like it !!
Happy crafting !!

Thursday, June 05, 2014

Sweet Baby


Here is my second project this week for Heartfelt Creations.
I am just LOVING these stamps. They are so easy
to colour and just look at great !

Pop on over to check out this weeks inspiration from the DT.
There are some amazing projects there!
Click on the pic below.

Heartfelt Creations

I used the following to make the card:
HCD 736 Classic leaf die
HCPC 3545 Open Leaf PreCut set 
459222 Paper Blossoms Tools
452255 Grand Calibur
HCDP1 243 Sweet Lullaby paper pad
HCPC 3603 Sweet dreams PreCut set
HCPC 3605 Sweet Lullaby Sentiments
HCD 746 Sweet Lullaby Die
HCD 744 Once Upon a Time die

Other Products Used : Promarkers, glitter glue, 3D foam pads, hot glue gun,
White card, white card, self adhesive gems.

Cut a 7" x 5" tent card using white card stock. Cut a card front from the paper 
pad and adhere to the card. Cut another matching card front and cut out 
the centre piece. Stamp, colour and glitter your image on this and adhere to
the card with 3D foam pads. Stamp, cut, colour and shape your leaves. 
Cut the flowers from the die set and ink the edges, glitter and add a gem 
to the centre. Adhere the leaves and flowers to your card. Stamp, cut and colour
the sentiments and adhere with 3D foam pads to your card and your project is complete.

Happy Crafting!

Wednesday, June 04, 2014

Precious Angel


Its Wednesday so that means I have a project to share
from Heartfelt Creations !!! 
This week I made a pocket tag card.
I thought this would be great for a birthday !

Pop on over to the Heartfelt Creations Blog,
there is a sneak peek ......... yes next week we have a 
new release !!! So can't wait I LOVE it !
But then I love all things Heartfelt !

Heartfelt Creations


I coloured the image using my Promarkers 


Here are the tags inside.
The larger of them is a printed card front from the paper pack
and the other is a tag I cut from the paper pack.


To make the card I used the following:
459222 Paper Blossoms Tools
452255 Grand Calibur
HCDP1 243 Sweet Lullaby paper pad
HCPC 3607 Lullaby Darlings 
HCD 746 Sweet Lullaby Die
088599 Captivating Squares

Other Products Used : Promarkers, 3D foam pads, all purpose glue,
Pale blue centura pearl card, ribbon, blue ink, self adhesive gems,
hole punch.

Cut 2 6" x 6" cards using the pale blue centura pearl card. Cut the front
of one and the back of the other so that it is a triangle. Adhere the 
two squares of the card together. Cut two triangles from the paper pad
to be slightly smaller than those of the card and adhere to the card.
Cut a 6" x 6" piece of matching paper and adhere to the inner of the card.
Adhere the triangles along the bottom of the card to create a pocket.
Die cut the square die in the pale blue pearl card. Stamp and colour the 
image. Place the die over the image and mark the inside of the square.
Cut the image out and adhere to the die cut. Adhere this to the card
using 3D foam pads. Cut a card front from the paper pad and sentiments.
Die cut and ink your flowers adding a gem to the centre. Punch a hole
in the card front and the sentiments. Thread ribbon through and tie. 
Adhere your flowers. Cut a tag from the paper pad and sentiments. Punch 
a hole and tie ribbon through them. Adhere a flower and your project is complete

Monday, June 02, 2014

Embossed Pillow Box


Wow another month has gone by so fast !
It's time for our June Challenge over at Crafter's Companion !
TAGS, BAGS and BOXES !!!

For this I made this pillow box using the new Vintage Floral CD and embossing folders.

To join in the challenge click on the pic below !!


I just LOVE how well the pearl card embosses with the
Embossalicious folders, even my OH says wow !!

To make the box I used the following Crafter's Companion products:
Centura Pearl Ivory
Vintage Floral CD
Decadent Rose Embossing Folder
Collall 3D Glue
Collall Tacky Glue
Die'sire Leaf 2 Die

Other items: Pearl gems

Hope you like it !
Happy Crafting

Sunday, June 01, 2014

Christmas Nativity


Its time to share a Christmas card Club card !
A group of us get together every two weeks and share our cards we have made
to the challenge on of us has set !!!
This week the Challenge was set by Sue and she
challenged us to make cards with the theme NATIVITY.

Here is my card!
I used Heartfelt Creations Christmas Card Collection papers
and sentiment for the card front; LOTV image;
WOC flowers, Heartfelt Creations Raindrops on Roses
circle die layered upon Spellbinders Adorning Squares.

Of course I had to glitter it up !!

Hope you like it.
Happy Crafting.