You know I love all things sparkly! Lol!
Here is a step by step tutorial for you to create
quick & EZ flowers for your Christmas projects using
the Celebrate the Season collection from Heartfelt Creations.
Have fun making lots of these!
Step 1: Stamp the Poinsettia flowers from the Celebrate the Season collection in black ink. Using the Precision Daubers shade over the leaves in green ink and the flowers in ColorBox Berrylicious ink.
Step 2: Using the coordinating dies die cut all the flowers and leaves.
Step 3: Add color to the petal centres by using the triangular tip of the dauber
and shade upwards from the centre.
Step 4: See the photo for what your flower should now look like.
Step 6: Turn the leaves over and press down into the centre of the leaves.
Step 8: Turn the flower over and press down in the centre so the petals raise.
Step 9: Using a sponge and dries clear glue, apply the glue over the flowers and cover with Crystal Clear Powder to create a sparkly flower! TIP: Press down in the centre again with your shaping tool to bring the petals back up.
Step 10: Adhere prills to the flower centres. Use your beautiful flowers on your Christmas projects!
Have fun making these flowers, they are perfect to use with the Winter's Eve collection!
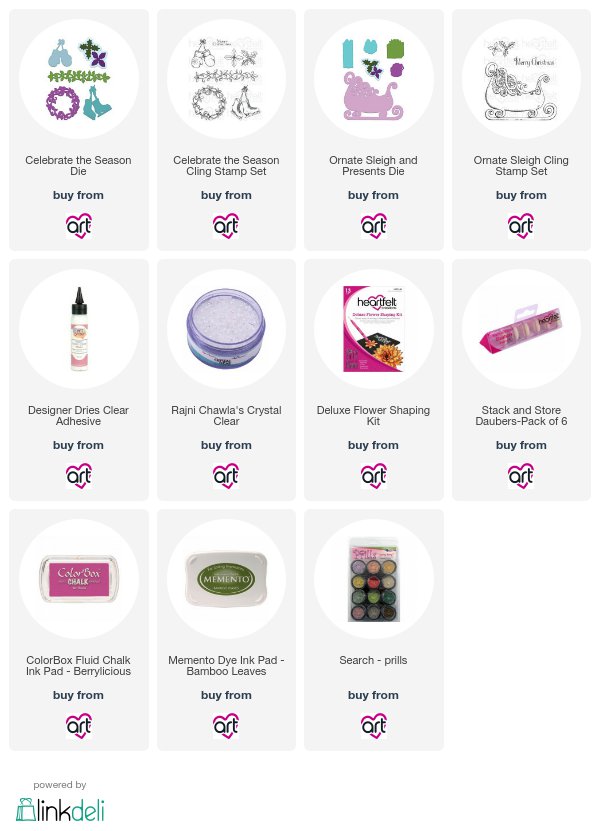
I Used the following to make my flowers:


Lovely card!!
ReplyDeleteHi Liz this is one amazing card I love your design and the chose of colours xx
ReplyDeleteDebs cards xx
http://debsartliffscards.blogspot.co.uk/?m=0
Beautiful creation Liz...
ReplyDelete