Here is my third project this week for Heartfelt Creations
I am so loving this release !!!
I just want to sit and craft so I apologise
for so many posts !! lol !!
Plus I was a naughty girl and bought a new die
unbeknown to my OH !!!! lol !!
So I was so excited to use it !!!
Actually if I have an idea I need to do it straight away
or I forget !!!! Getting old !!! lol !!
Have you checked out the Raindrops on Roses collection yet ??
Check it and all the amazing inspiration out
by clicking on the pic below.
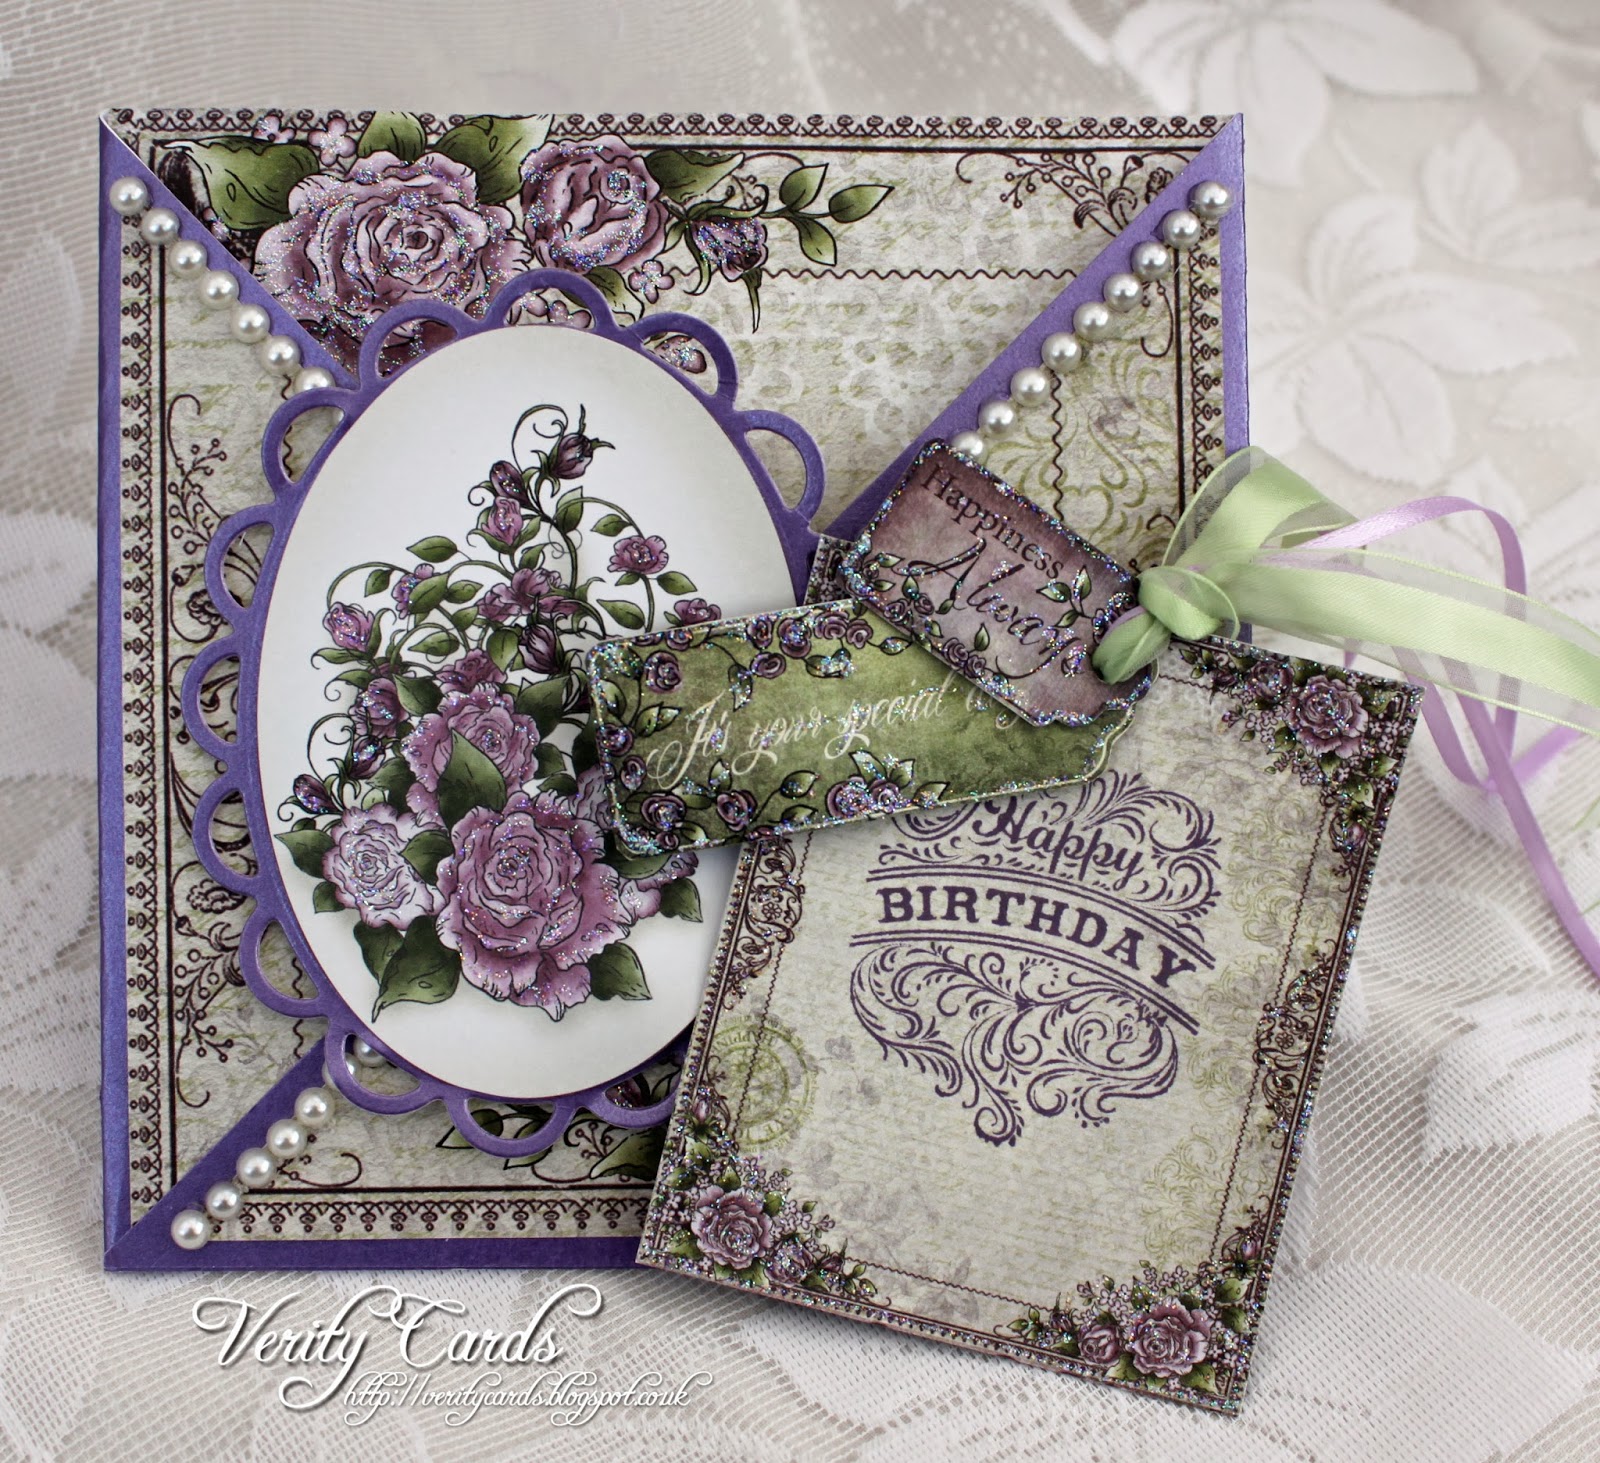
To make the card I did the following:
HCPC 3578 Majestic Morning Background PreCUt set
HCD 742 Majestic Blooms Die
HCD 736 Classic leaf die
HCPC 3545 Open Leaf PreCut set
459222 Paper Blossoms Tools
452255 Grand Calibur
HCPC 3584 Lady Rosalie PreCut set
031458 Timeless Rectangle
HCDP1 240 Raindrops on Roses Paper pad
Other Products Used : 3D foam pads, glitter glue, beads,
purple and green ink, hot glue.
Using paper from the paper pad die cut the front of the card. Score
1" and fold the paper over and cut along the line to form a hinge.
Cut three die cuts and adhere one to the back of the front and then
one either side of the hinge. This forms your card. Cut a panel
from a printed card front and stamp the sentiment on. Adhere the
panel to the front of the card using 3D foam pads. Stamp, cut, colour
and add beads to the flowers. Stamp cut and colour the leaves.
Adhere the leaves and flowers to your card and your project is complete.